
Monday, October 17, 2011
Chandeliers
Sunday, October 16, 2011
The Kitchen Island
 |
| The untreated timber |
 |
| timber pieces glued together after planing--3 1/2 inches thick |
 |
| Newel post legs |
 |
| Sealing the top and painting the legs |
 |
| The finished island |
 |
| Wood island and soapstone counters |
Sunday, October 9, 2011
We've moved!
 |
kitchen (west) |
 |
| Kitchen (north) |
 |
| Family room adjacent to kitchen |
 |
| family room and kitchen |
 |
| Office |
 |
| Dining room |
 |
| Entry hall |
 |
| living and dining room |
 |
| 1880s Brunswick billiards table |
Thursday, September 15, 2011
Face Frame Cabinetry
 |
| Face Frame Cabinets in Kitchen |
 |
| Cabinetry with mix of glass and solid doors |
 |
| Face Frame Cabinets with exposed hinges |
 |
| Face frame cabinets around refrigerator |
 |
| Cabinet boxes before face framing |
 |
| Face frames added to boxes |
 |
| Face frame and beaded board applied to inside |
 |
| Rob adding the hinges to the doors |
Several months ago we decided to construct the kitchen and bathroom cabinetry using a traditional method of cabinet design called face framing. This method has been used in North America for a long time and it is often seen in older homes. By contrast, European style (or frameless cabinetry) became popular after WWII in Europe during post war reconstruction. In frameless cabinetry construction, the hinges are concealed and the door or drawer covers most of the interior frame. At the time, it was considered an advance in cabinet design because hardware had improved and materials had greatly advanced, allowing for the doors and drawers to be supported by the cabinet box, not the hardwood frame attached to the front. While frameless cabinetry is streamlined and elegant, face framed cabinetry seemed more appropriate for our turn of the century home.
The construction of our cabinetry was a multi-step process and more labor intensive than the frameless option. First, we ordered standard size cabinet boxes from a manufacturer in Grand Junction, CO. Then, Joel's carpenters constructed the face frames for each box and also lined many of the upper boxes with traditional beaded board. Some boxes were divided into drawers, while others were designated as cabinets with doors. This was the point in the design process where we truly got to customize our space and get the storage that we needed for our lifestyle. The next step was to carefully measure all of the openings to allow for the flush inset drawer or cabinet door. This was critical step because there is a small gap around every opening that gives it a uniform appearance and allows for very little error. Next, the doors and drawer fronts were ordered locally, along with the interior drawers and drawer hardware. Custom shelves were made on site for the upper cabinets. All the doors and drawers were then sprayed with Benjamin Moore's Lancaster White paint and sealed with a clear coat of lacquer. Next, the doors were mounted with exposed hinges, glass was inserted in some doors and the door and the drawer knobs (small round knobs in oil rubbed bronze and a few traditional latches for the upper cabinets) were attached. Joel added magnets to all of the doors so that they would have a solid connection with the face frame. Now that the cabinets are finished, it seems like the right choice for our 110-year-old home.
Our Rocky Mountain Summer
 |
| Grant summiting Imogene Pass (13,100ft!) |
 |
| Carson at Red Feather Lakes |
 |
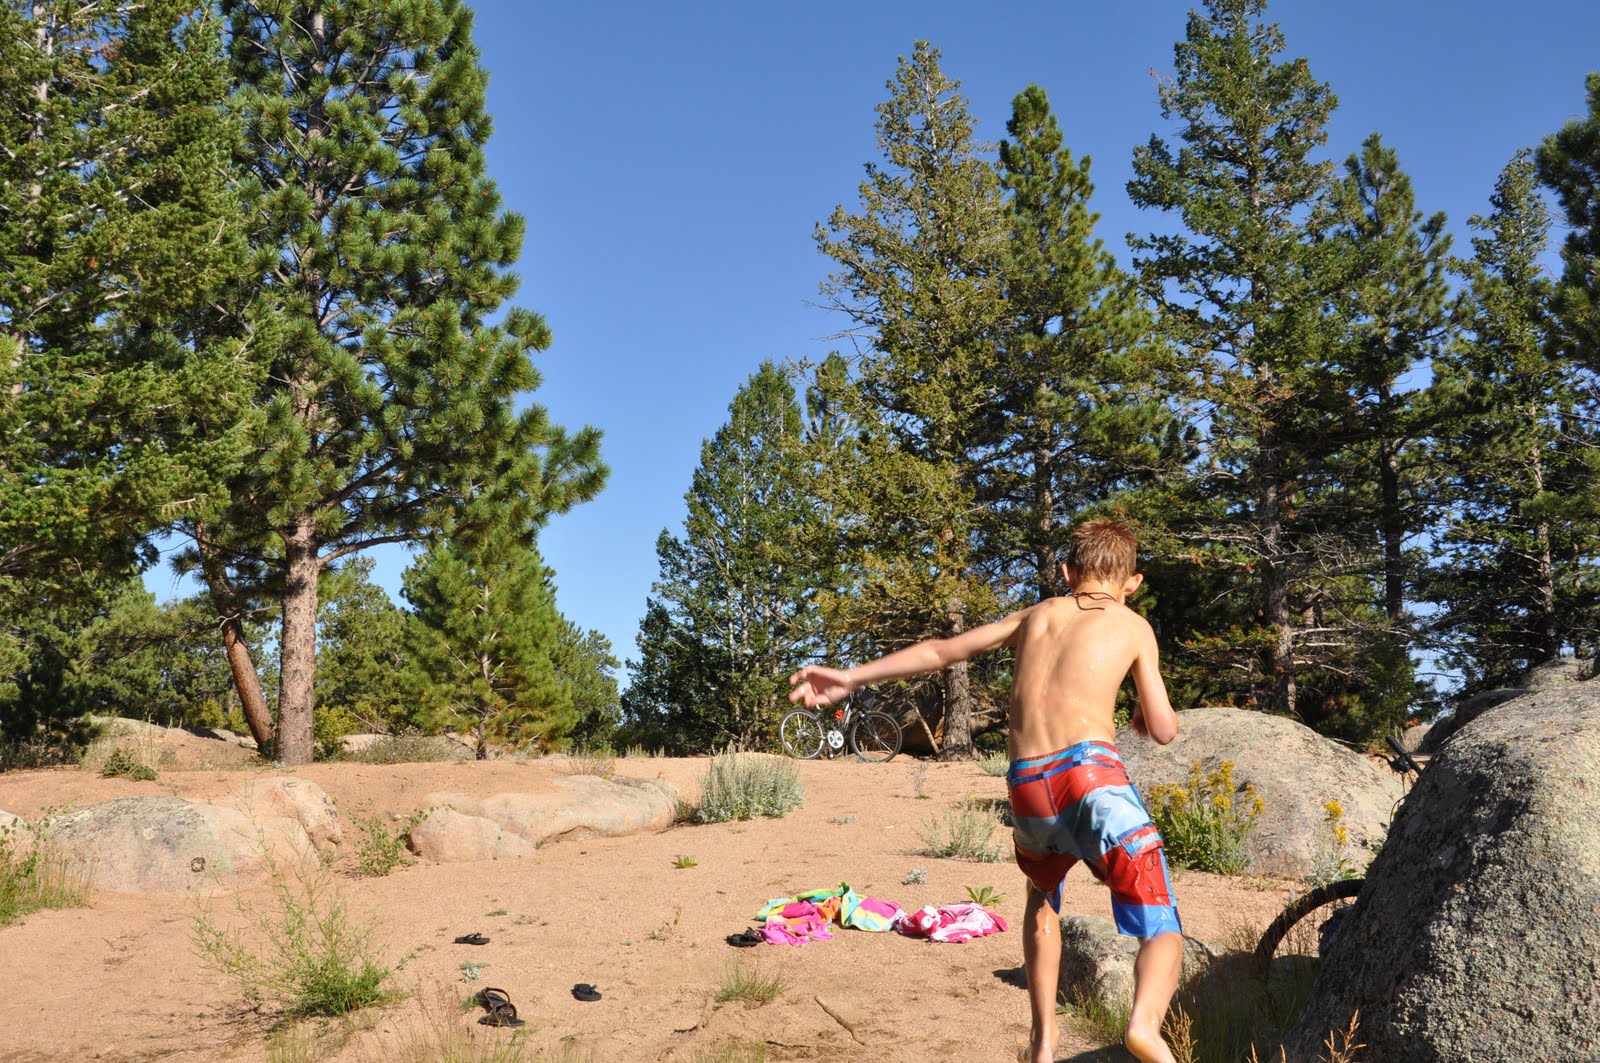
| Swimming at Red Feather |
 | ||||||
The Stupa at the Shambhala Center, Red Feather Lakes
|


 |
| Quinn at Cutthroat |
 |
| Camping at Cutthroat Bay |
 |
| Santa Fe |
 |
| Quinn milking a goat |
 |
| Grant and boys in Santa Fe with their Poppy |
 |
| Cole's post-camp arms covered in girls' phone numbers |
Wednesday, September 14, 2011
Door Hardware
 |
| Front door hardware |
 |
| Exterior lock set at family room |
 |
| Door hardware at Denver salvage |
 |
| Existing glass knobs with new back plates |
 |
| 2nd floor egg-shaped hardware |
 |
| Knob set at Denver Architectural Salvage |
 |
| New knob set on master bath |
I made several trips to Denver's Architectural Salvage warehouse last week to find compatible pieces of door hardware for a few new doors. The existing hardware at 1109 Pine is quite impressive (23 doors have their original hardware), but I needed to find something old to blend in with the existing doors. The hardware on our main floor is quite intricate, and fortunately I wasn't trying to match that hardware. Out of curiosity I have looked at many architectural salvage online sites across the country, but I have yet to see the same door hardware as ours in their collections. The immediate challenge was to find something for our master bathroom that would be compatible to the aged brass egg-shaped sets that are throughout the upstairs. The best I could do was to find a beaded brass set that was not identical, but had the same overall shape and finish. I also picked up some pretty bronze back plates for the two glass knob sets that I already had, which will serve the basement and pantry doors. The hunt for hardware was quite fun but it could have been very daunting had I needed to find exact matches.
Floors
 |
| Quinn's bedroom |
 |
| walnut floors before refinishing |
 |
| refinishing the walnut floors |
 |
| newly refinished walnut floors |
 |
| douglas fir floors in dining room |
 |
| stairs |
 |
| Stairs |
 |
| entry |
We had the existing floors and our new walnut floors refinished last week. Upon inspecting our existing floors, our floor guy Jim told us that he suspected that the 110-year-old douglas fir floors had never been refinished. We loved the way they looked with their minor scratches and dings, so we opted to have them screened and sealed instead of having them fully sanded. Screening takes a small layer off the top and removes all the dirt and some of the scratches from the floor. It also retains the color, which in our case is a rich amber color that has taken decades to develop. The stairs are especially full of wear and character and we are happy to have them look their age. In contrast, our new walnut floors in the kitchen and family room got the full treatment: a full sanding and several coats of a chestnut stain. The walnut and the douglas fir are quite different both in size and color, but the wood in both these spaces works as a unifying element so they are remarkably compatible.
Subscribe to:
Comments (Atom)

